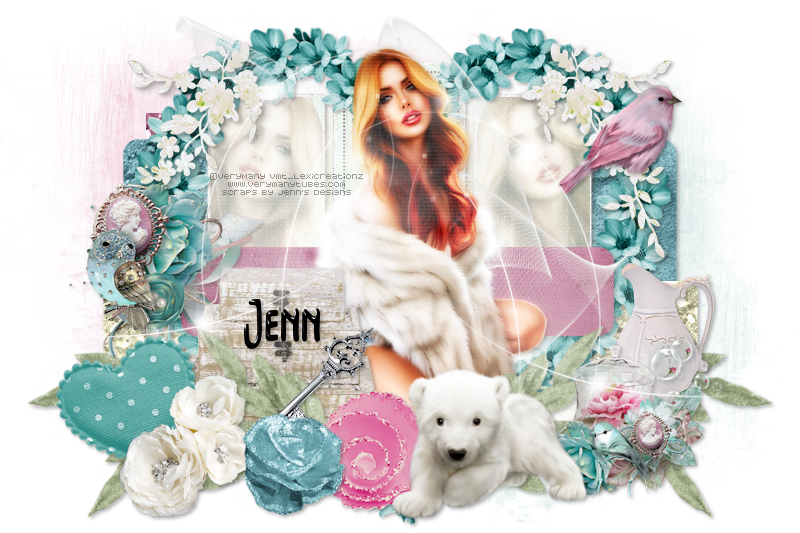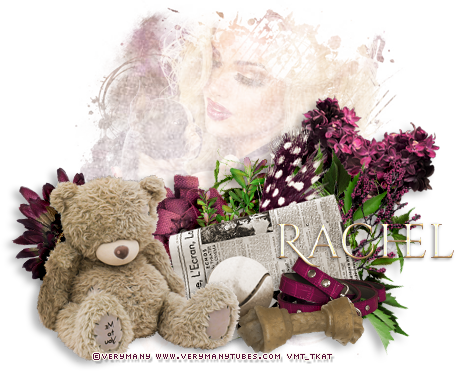
PSP Version used: PSP 2020 Ultimate
This tutorial assumes you have a good working knowledge of PSP.
Supplies:
Tube of choice. I am using the art of VeryMany. You must purchase her art and obtain a license number to use her tubes. You can purchase this tube here.
PTU kit from Jenn's Designs called Winter Memories.
You can purchase the kit here.
Mask 522 from Weescotslass Creations. You can find it here.
Template 6 from Sylly Creations. You can find it here.
Font of choice. I am using Diagakure Demo.
Filters:
penta.com Color Dot(Optional) Eye Candy 4000 Glass
-------------------------------------------------------------------------------
Let's get started.
Open your template. Delete the watermark & text layers. Merge together the three red rectangle layers. Change the canvas size to 1100 x 733. Resize all layers so the image is 800 x 533.
Open your mask. On the template, create a linear gradient with 3 colors from the kit. I used #e38db0, #f7f7f5, & #5aa6a1. Set the angle to 315, and repeats to 0. Add a new raster layer above the white background layer of your template & floodfill with your gradient. Apply your mask to the gradient, merge group.
Replace each layer with the following:
Large green rectangle - Paper 4Large red rectangle - Paper 32 black rectangles - select all, float, defloat. Add a new raster layer. Set your foreground to #fffeff and your background to #b5b293. Click on the foreground color in the color palette. Select the gradient tab, and choose the foreground-background gradient. Angle 0, repeats 1. Floodfill your gradient onto the new layer. Deselect and delete the original layer.Long green rectangle - Paper 2Merged red rectangles, Paper 11Dotted rectangle - using the manual color correction tool, change the color from black to #662f46. Black rectangle - Paper 1
Now let's add our elements:
37 - resize by 92%. Paste as a new layer above the dotted rectangle layer.23 - resize by 50%. Place to the upper right of the heart frame. Duplicate, mirror horizontal.32 - resize by 30%. Place on the original white flower spray.64 - paste as a new layer above the top layer.40 - resize by 40%. Place over the left side of the heart frame.15 - resize by 50%. Place to the bottom & a little to the left.18 - resize by 60%. Rotate slightly to the left. Duplicate, then flip vertical. Move the copy to the right and under the original layer. Merge these two layers together then duplicate, mirror horizontal.83 - resize by 40%. Place to the bottom right.1 - resize by 50%. Place to the left side of the jug & slightly lower.20 - resize by 25%. Place to the bottom left. Rotate slightly to the left.41 - resize by 35%. Place to the bottom right of the heart pillow.25 - resize by 30%. Place to the bottom, slightly to the left.2 - resize by 50%. Place to the right of the pink flower.51 - resize by 40%. Place between the pink flower & the cluster of flowers. Move a little upwards.94 - paste as a new layer. Move slightly to the right. Duplicate, mirror horizontal & move a little up and to the left.4 - resize by 30%. Place to the bottom, between the white flowers and pink flower.
Open your tube, resizing as necessary. Paste as a new layer just above the merged blue rectangles. Arrange over the far left rectangle. Duplicate, mirror horizontal. Merge the two tubes together. On the blue rectangle layer, select all, float, defloat. Selections, invert & press delete. Deselect.
Duplicate your merged tubes layer. Adjust, blur, gaussian blur to 3.00. Apply the penta.com color dot and set the value to 90 & distance to 7. Set the blend mode for this layer to Screen. On the original layer, change the blend mode to Luminance(L), opacity 36.
Paste your tube again, but this time just below the green branch layers. Duplicate, gaussian blur 3.00. Set the blend mode to Overlay.
Add your name, apply the EyeCandy Glass using the settings of your choice (optional). Add your copyrights, license info, then add a drop shadow of choice to your layers.
Merge visible & save as a PNG.
Thanks for checking out my tutorials.


0 people loved this post!:
Post a Comment